Baseboard And Trim Replacement & Repair
It’s very easy to damage the baseboards in your home, even if you are careful, because of furniture legs and feet, all of which will leave marks and scrapes. You may want to replace the damaged baseboards, but there are other ways to fix this type of problem.
If there are holes, or any type of damage at all, you may as well just patch everything up. It could be difficult to replace the floor if it is behind a wooden floor, plus you may inadvertently damage the plaster trying to fix everything up.
Baseboard Repair Service - Pleasanton, CA
Drywall mud would be your best choice, a material that can be used to fill sections that have damage on your baseboard. If you have a taping knife available, you can fix everything, including chipped sections, which will actually match up with the rest of the baseboard as well. It’s recommended that you do this at least three times to get the best results. Hire experts from Santa Drywall Repair Service, Pleasanton, CA.
How To Patch A Baseboard:
STEP 1- Initially, you will need to cut a piece of wood that will easily fit over the patch. The patch needs to be a lot thinner than how thick the baseboard is. In most cases, this would be a measurement of 3/8”-1/2”.
STEP 2- Using ¾ stock, you can create a template – this can be made of composite board, MDF, or even plywood; as long as you have a piece of wood that is perfectly flat, even if it is scrap stock, it’s going to work.
STEP 3- Using a power drill, you can screw it into place.
STEP 4- The next step involves using a router, straight bit, or a guide bushing, in order to cut out the template. Shallow cuts are needed when you initially start this process. Try to have as much surface area for blue as possible, primarily because it will make everything more stable. As mentioned in Step 1, you will need to put a whole that is roughly the depth of the patch. Once you are done cutting, use a vacuum to remove the dust.
STEP 5- Using a chisel, you can easily make the hole more square.
STEP 6- You need to put this into place and glue the patch. You really don’t need to use nails; all you need is glue.
STEP 7- use a sand paper to make it smooth. You will then want to use some form of primer and then paint the Baseboard.
If you are able to find a molding profile that works, you will find that this is challenging – it may also be extremely expensive if you need one custom-made. Patching the baseboard is the better choice – all you need is a custom cut hole with some glue to get the job done.
Instead of matching the hole with the patch, you simply cut the hole so that it matches. Once you have a custom template done, this will no longer be a problem.
The Most Common DIY Interior Trim Repairs
In the crown molding, there might be a few gaps, or you may notice that your door trim more window trim has been scratched or dented, prompting you to do repairs to make everything look normal.
USE DRYWALL MUD OR WOOD PUTTY
To fix all of this, wood putty or drywall mud is going to suffice. By placing this in the gaps or holes, you can fix your molding or trim very quickly.
USE CAULK
Most people have a caulk gun at their home, allowing them to fill the gap very quickly. Once you are done, just use your finger to get everything just right and let it dry throughout the night.
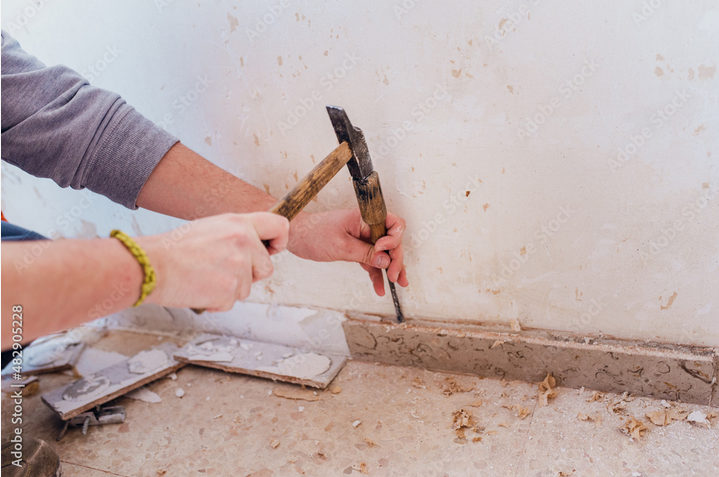
REPLACE A SECTION OF MOLDING
If you have noticed that the molding has started to rot, possibly because of water damage, it could have flaws, or may even be cracked, which will motivate you to do something more than repairs, which is why replacing this section might be the best decision. Once you have done that, refinish it, and then paint it.