Basement Waterproofing Specialist
In the Gutter
This is an excerpt from the Book called “Spend-A-Little Save-A-Lot Home Improvements“ by Brad Staggs. Continue reading to learn more about In the Gutter, thanks to the author.
The gutters on your home are designed to collect and disperse the water that runs off your roof. Without the gutters, rainwater simply falls directly off the eaves and ends up way too close to your house’s foundation. This can lead to serious problems, like flooded basements and crawl spaces, cracked concrete or cinder-block foundation walls. And don’t forget that nasty, moldy, mildew smell that gets embarrassing when company comes over!
Keeping your gutters and downspouts in good shape is a wise investment, both financially and in terms of your hard-earned spare time. In most cases, you should be able to get your system in tip-top shape for less than a couple hundred bucks. That pales in comparison to foundation repair—or replacement, as I once had to do. That bill was a measly $46,000. I’ll let you do the math.
Pieces and Parts
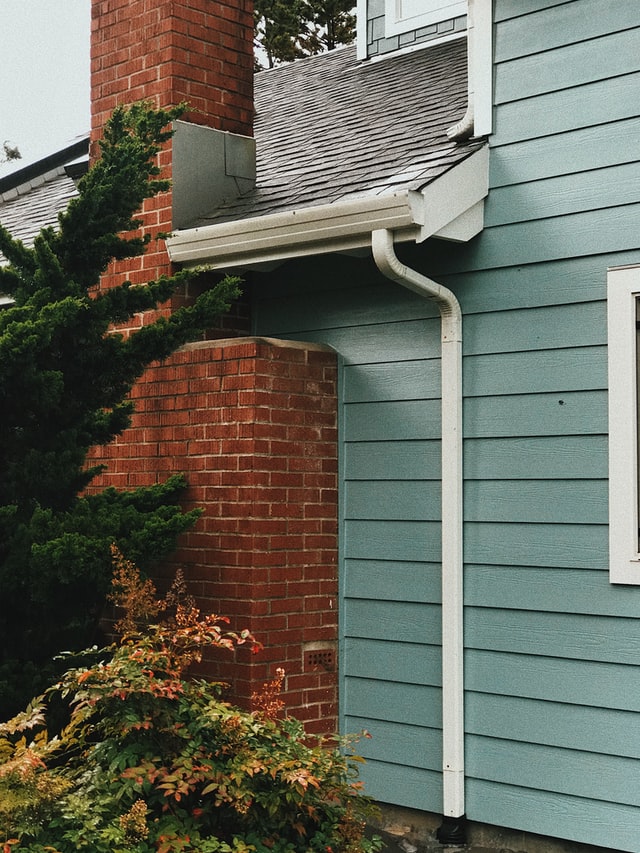
The gutters themselves will either be of the seamless variety (generally installed by professionals) or installed as sections (anywhere from 10 to 16 ft. in length). Both types use some type of fastening system to keep them in place. The most common is the spike.

Over time, these spikes tend to work themselves loose from the fascia board that they’re fastened to (left). This is most likely because they split the wood when they were installed and weren’t sealed properly to prevent moisture from seeping into the fascia and swelling the wood. As we say in the South, the holes got wallered out.
The best fix for this problem is called a gutter screw. It’s like a spike, but better—instead of being pounded in like a nail, it screws in using a drill/driver. In most cases, gutter screws are designed to be used in the same holes that the spikes came loose from, making the swap pretty simple. Just remember to use the sleeve provide with the new screw or the one that came off the old spike, if it fits. This prevents you from over-driving the screw and crushing your gutter…leading to another repair expense!
This one simple fix can save literally thousands of dollars in repairs due to gutter failure and the resulting water damage to your eaves and foundation!
Brad’s Tip
Clear leaves and other organic debris from the gutter before continuing to the next step. A garden hose is the best tool for the job.
Sealing the Joints
If your gutters were installed in sections, chances are that one or more of the joints connecting each section are leaking. The good news? It’s pretty simple fix. All you need to do is wait for a dry day, then thoroughly clean the area on the inside of the gutter on both sides of the joint.
Start with a soapy water solution and finish the job with some mineral spirits to get any old sealant off the surface. Allow it to dry completely, then apply some silicone sealant along the inside of the joint. Smooth it out using a wood shim or putty knife. This will prevent the sealant from becoming a “speed bump.”
Topping It Off
Once your gutters are securely in place, it’s time to make sure that the only thing that gets into them is water. Anything else that finds its way into the gutters either ends up weighing it down (remember those pesky gutter spikes that pulled out?) or simply clogging it and the downspouts.
The easiest and most effective way to make sure that water is the only thing in your gutter is by installing water is the only thing in your gutter is by installing some sort of lid, topper or gutter guard. They come in several different shapes And A Couple Of Sizes.
Wire Mesh
The first type of gutter guard is of the wire-mesh variety, which has the advantage of being probably the least expensive and is easy to install. This particular style attaches to the gutter’s outer lip with small clips that double as hinges. Once attached, you simply fold the guard back and lay it across the top of the shingles.
It works reasonably well, but isn’t my favourite because it tends to catch leaf stems and pine needles in the tiny holes. That leaves you (pun intended) back where you started, with organic material causing a problem with water flow into the gutter.
Plastic Mesh
Second in line is the plastic-mesh style. It installs by sliding over the entire front lip of your home’s gutters. The challenge can be getting it to fit snugly over areas where the gutter may be bent. It is less prone to bending than the wire-mesh and has the added advantage of possibly matching your gutter’s color—as long as it’s white, off-white or brown (in most cases).

Solid Plastic
Last, and holding the distinction of being my favourite method of gutter protection, are the solid plastic sections that use friction to direct water into the gutter. These allow leaves and other debris to roll off the leading edge and fall to the ground, where you’re forced to rake them up or mow them into mulch, which in turn fertilizes your lawn!
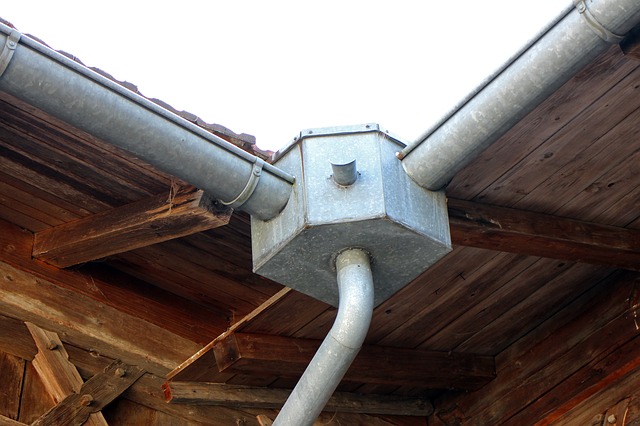
Dispersing the Water
Every gutter system should have several downspouts. Their job is to carry the water collected by the gutter and channel it away from the foundation of the house. Sounds simple enough, but problems can arise quickly when they become clogged or simply drain too close to the exterior wall.
The first problem is often alleviated when gutter toppers are installed, but before that time, leaves and debris collected by the gutter can cause a virtual logjam at the downspout’s entry point inside the gutter. For this reason, it’s important to clear any debris from the gutter before it gets to that point.
If the gutter gunk finds its way into the downspout, it can cause a clog you can’t even see. This can force water out through unsealed joints or worse, back into the gutter itself, adding to that weight issue we discussed earlier. See how this is all connected?
So, let’s stop the problem before it starts.
All you need is a garden hose to clear most clogs from a downspout. Just insert it at the top and turn it on. The water pressure should dislodge any stubborn debris from inside, which will then come rushing out the bottom; this is a good reason to stand back a bit to avoid getting any of that smelly decomposing stuff on you.
Once the downspouts are cleared, take a look at where they empty out. Traditional wisdom says they should send the water anywhere from 2 to 4 feet away from your home’s foundation. That’s pretty good rule of thumb.
Splash blocks are a good way to ensure that the water heads off into the yard and not back up against the house. They should be installed so that the open end is toward your yard. Otherwise, water can roll back up the sloped form and back up against your house. You know how that story can end.
One reason some people turn their splash blocks around is because they can cause some erosion to occur as water rushes down and into the soil, particularly during heavy rains. A better solution to this problem is using an inexpensive device (around $10) called a downspout drain. You simply attach it to to the end of the downspout with the included bracket.
During dry periods, the disperser stays neatly coiled and out of the way.
When it rains, though, it uncoils and disperses the water over a wider area, with less chance of erosion. It can actually be a source of entertainment if you get really bored.
Sloping the Earth
This step requires a little heavy lifting, as you can imagine. Actually, we’re just talking about sloping the earth (small “e”) around your home’s foundation so that any water that happens to hit it will have a tendency to roll away from your house as opposed to slamming into the exterior wall.
Remember I said that water will find a way? It’s true. Water that lands next to the foundation can soak down through the soil, under the concrete slab or through the foundation wall, and causes a whole lot of damage. That’s why you need to check all areas around your home and particularly around downspouts and flower beds.
Be sure the dirt is sloped at least 1/8 inch for every linear foot it travels from the house. If you have to buy dirt to fill in low spots, just do an online search for “fill dirt” in your area or check with a landscaper or contractor nearby and ask them where to find the best deal.